20+ Years Experience
Specialist Playground Painting
Enquire Today For A Free No Obligation Quote
Playground markings are designs, shapes, and games painted on playground surfaces to create a fun and engaging environment for children. These can include hopscotch, four square, bean bag toss, and other creative games that encourage physical activity and social interaction.
While most playground markings are professionally installed, many schools and communities are now turning to DIY playground markings, which offer a cost-effective and customizable option for designing unique playground games. Playground markings are crucial for children’s development as they provide a safe and stimulating environment for play. They also help develop motor skills, cognitive abilities, and social skills.
DIY playground markings offer the opportunity to involve children in the design process, promoting creativity and imagination. There are various benefits of DIY playground markings, including:
Designing your own playground markings may seem like a daunting task, but with a few tips, it can be a fun and straightforward process.
To create DIY playground markings, you will need materials such as stencils, paint, tape, and chalk. These materials are readily available at most hardware or craft stores. There are many different types of playground markings you can create, including:
Regular maintenance is essential to preserve DIY playground markings. This includes regularly repainting, repairing any damages, and cleaning to ensure the markings are safe and visually appealing for children.
In conclusion, DIY playground markings offer a cost-effective and customizable option for creating unique and engaging games for children. By involving children in the design process and using appropriate designs and colours, DIY playground markings can promote creativity, imagination, and physical activity for children in a safe and stimulating environment.
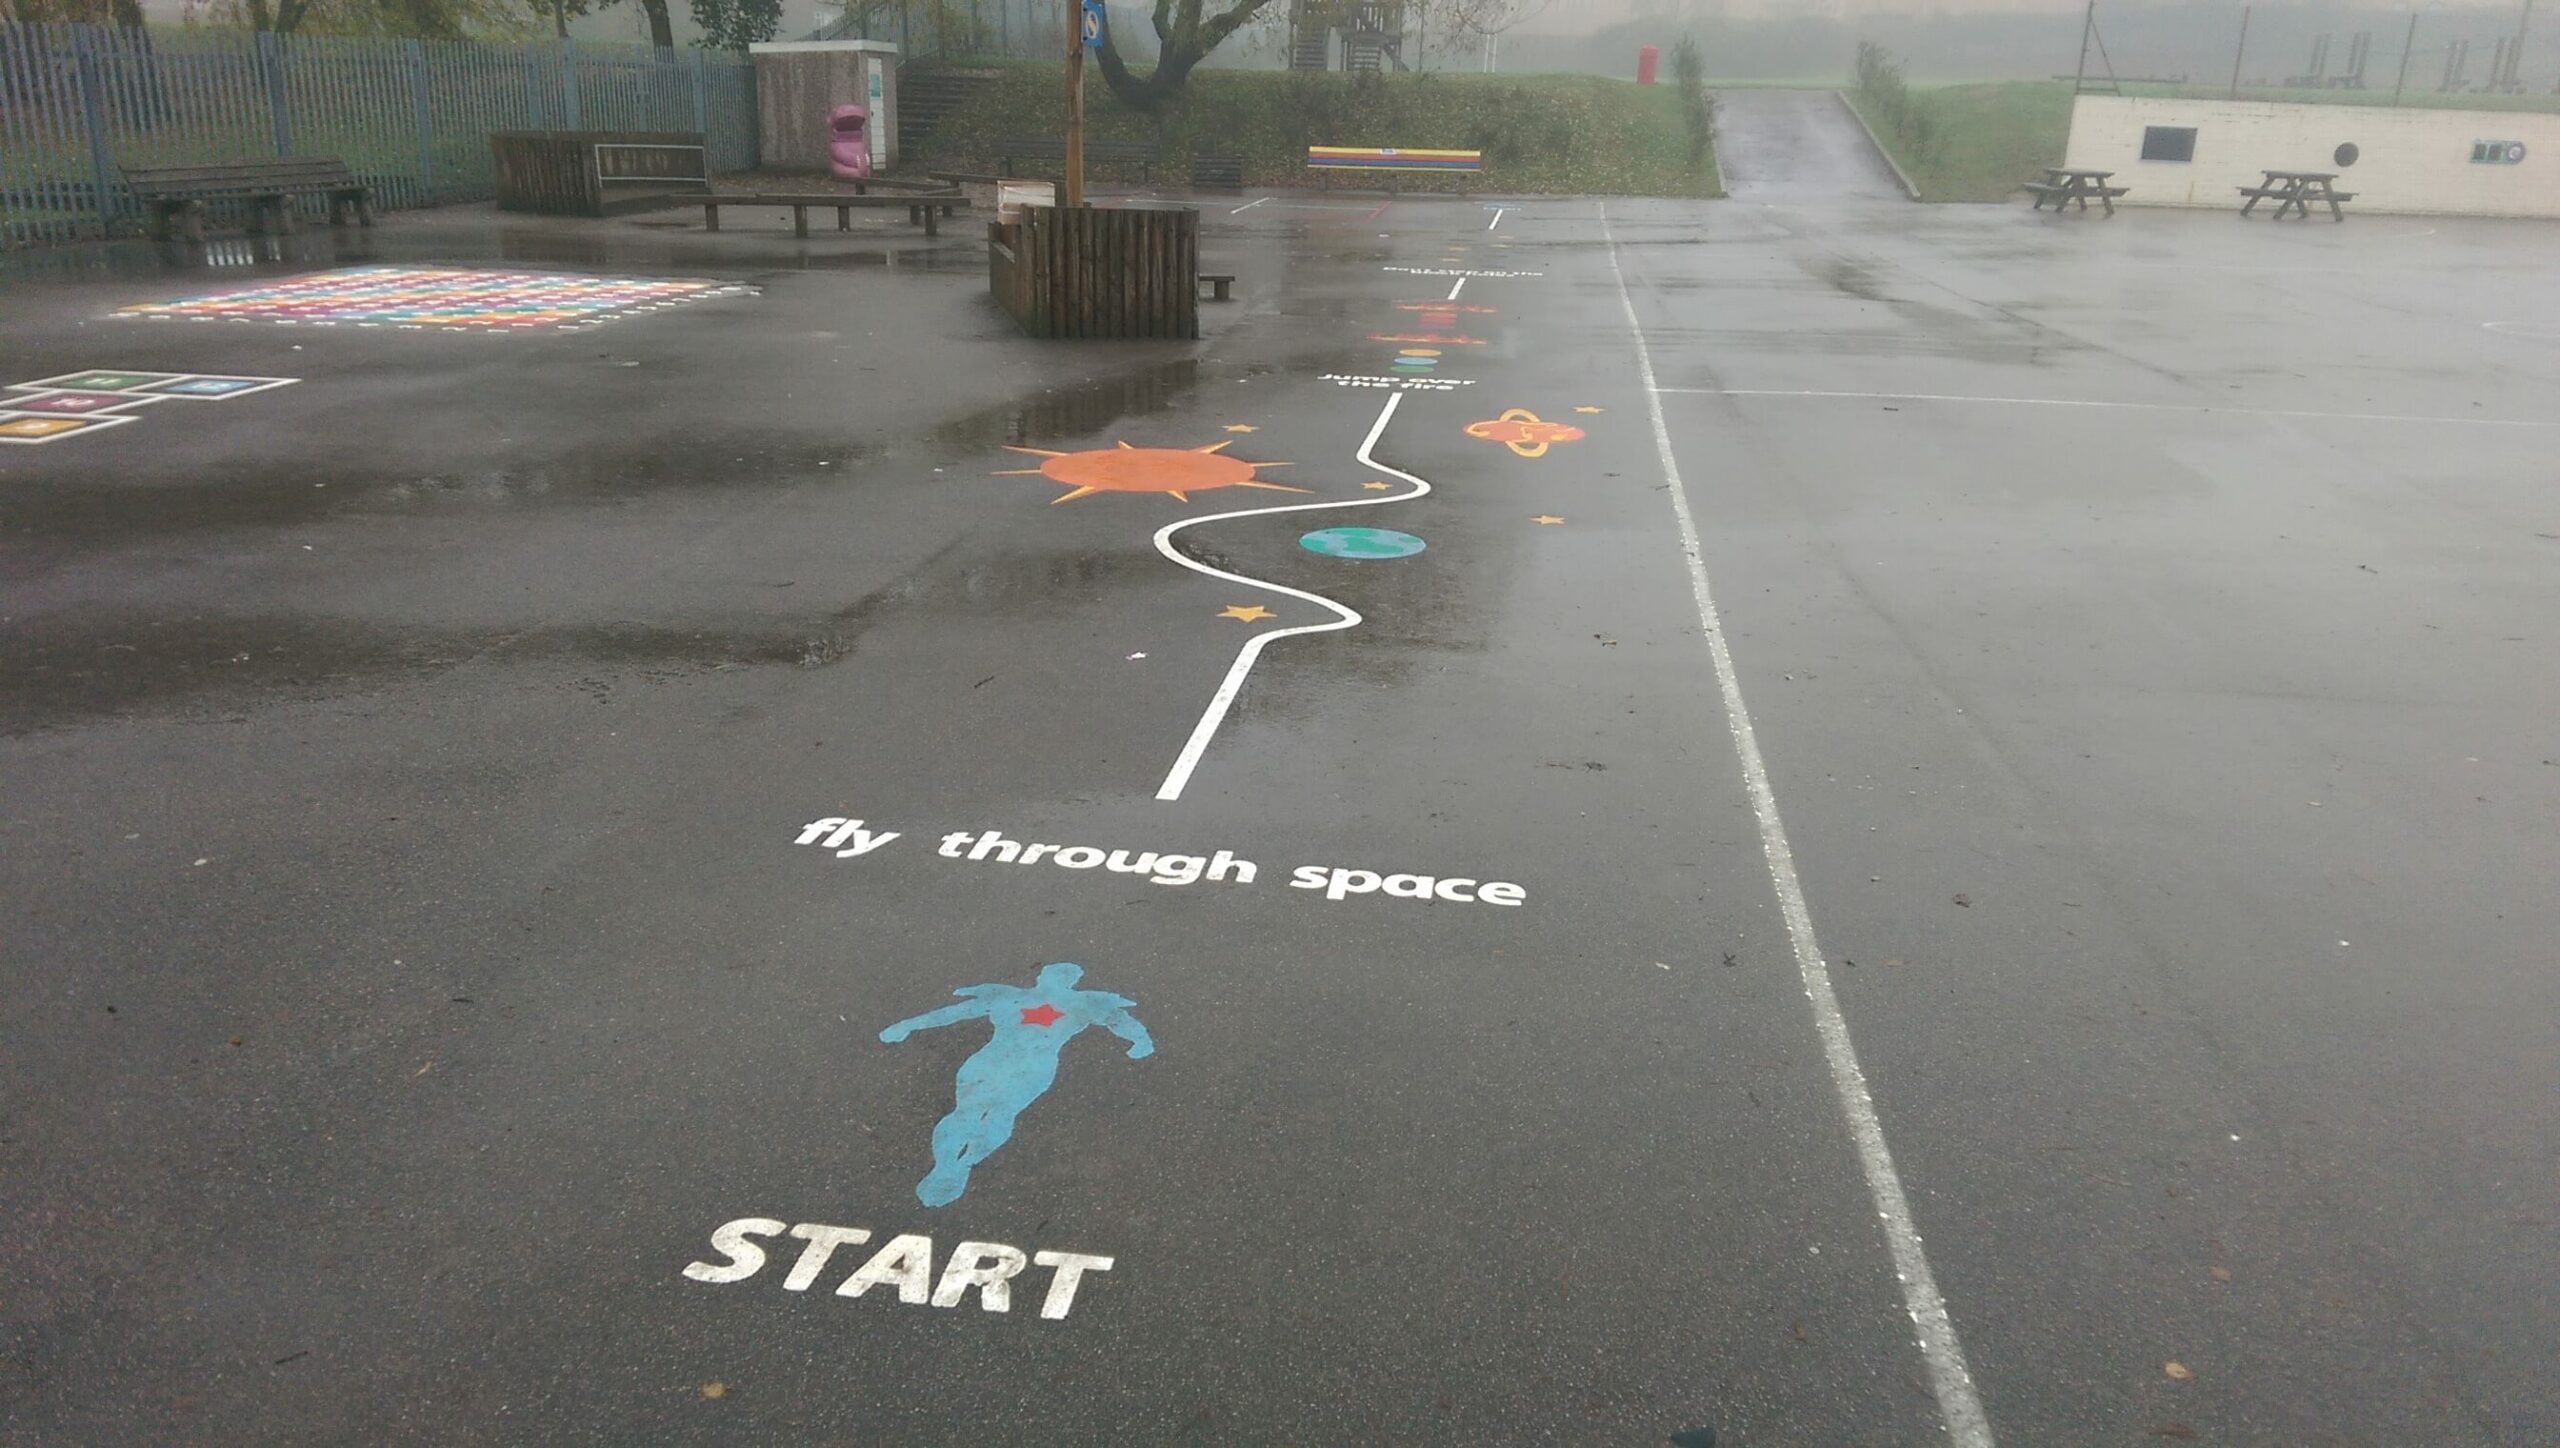
Playground markings are designs or patterns painted or applied to the ground in recreational areas, such as school playgrounds or parks. They serve as visual cues for various games and activities, promoting physical fitness and social interaction among children.
When designing your playground markings, consider incorporating classics like hopscotch, four square, or maze patterns. Additionally, you can add creative elements such as animal shapes, alphabet grids, or number ladders to encourage learning through play.
Playground markings are essential for enhancing children’s play experience and encouraging physical activity. They provide a structured environment for games, promote inclusivity, and stimulate imaginative play, which supports children’s cognitive and social development. Additionally, playground markings can enhance the visual appeal of play areas, making them more inviting and engaging for children.
Pro-tip: When designing playground markings, consider incorporating educational elements or cultural references to make the play area not only fun but also enriching for children.
Playground markings are a fantastic way to add fun and creativity to any playground. But have you considered the benefits of designing and creating your own DIY playground markings? In this section, we will discuss the advantages of DIY playground markings, including their cost-effectiveness, customizability, and ability to promote creativity and imagination among children. Let’s dive into the world of DIY playground markings and discover their unique benefits.
Creating cost-effective playground markings involves:
Playground markings originated in the early 1900s as simple painted lines and shapes. Over time, the concept evolved, and today, DIY playground markings offer a cost-effective way to enhance children’s play spaces.
Customisable playground markings allow for personalised designs to suit specific preferences and interests. Consider using stencils and various colour options to create unique and tailored playground markings.
Customisable playground markings promote individuality and can reflect the surrounding environment or cultural themes.
Encourage open-ended play to nurture creativity and imagination. Provide materials for children to create their own games and artwork. Offer a variety of non-prescriptive markings to inspire imaginative play.
To enhance creativity and imagination, consider including interactive and educational markings such as number grids, mazes, or alphabet games.
Designing your own playground markings can be a fun and rewarding process that allows you to create a unique play space for children. However, there are important factors that you must consider before getting started. In this section, we will discuss the key steps to designing your own playground markings, including determining the available space, considering the age and interests of children, choosing appropriate designs and colours, and planning for safety and accessibility. By following these tips, you can create a fun and engaging playground for children to enjoy.
Measure the available area accurately to determine the space for playground markings. Consider any obstacles or fixtures in the area that could affect the design or placement of the markings. Factor in safety zones around equipment and ensure there is ample space for children to move around freely.
Playground markings have been used for decades to enhance outdoor play areas. In the early 20th century, schoolyards began incorporating simple painted markings to encourage physical activity and imaginative play among children.
Consider the age and interests of children. Choose designs and colours that resonate with the children’s preferences and imagination. Ensure that the designs and colours are vibrant and visually appealing. Take into account safety guidelines and visibility when selecting colours for playground markings.
The tradition of incorporating designs and colours into playgrounds dates back to ancient civilisations such as the Mayans and Egyptians, who used vibrant patterns and symbols to enhance play areas.
Ensure Clear Pathways: Plan for unobstructed routes between markings for safe passage.
Consider Age-Appropriate Markings: Tailor designs to suit different age groups, promoting inclusive play.
Integrate Safety Elements: Incorporate safety-themed markings like traffic signs to educate about road safety.
Provide Accessibility Features: Create markings that are accessible to children of all abilities, including those with mobility challenges.
When it comes to designing your own unique playground games, having the right materials is key. In this section, we’ll discuss the essential materials you’ll need to create DIY playground markings that are both durable and fun. From stencils and paint to tape and chalk, we’ll cover the different options and their pros and cons. So, let’s dive in and discover the materials that will help bring your creative playground games to life!
Choose the appropriate stencil designs for your playground markings, ensuring they align with the age and interests of the children who will use them.
Consider the durability and reusability of the stencils to ensure they withstand outdoor conditions and repeated use.
Ensure the stencils are easy to clean and maintain to preserve the quality and appearance of the playground markings over time.
When considering 2. paint for DIY playground markings, opt for non-toxic, weather-resistant paint suitable for outdoor surfaces. Choose vibrant colours for visual appeal, ensuring the paint adheres to safety standards, like EN 71-3 compliance.
Prepare the surface by cleaning it thoroughly and using appropriate primers. Apply the paint evenly and allow it to dry completely before allowing children to use the playground.
When using tape for DIY playground markings, follow these steps:
When creating DIY playground markings, using chalk is an easy and versatile option. Chalk provides a temporary solution, allowing for changes and adaptations to the designs. It’s an excellent choice for areas where permanent markings might not be suitable. Chalk is also a cost-effective material, making it a practical choice for experimenting with different playground designs.
Are you looking to add some fun and creativity to your playground? By designing your own playground markings, you can create a unique and engaging play area for children of all ages. In this section, we will discuss various types of playground markings and provide tips on how to create them. From classic games like hopscotch and four square to more innovative options like a maze or obstacle course, there are endless possibilities for designing your own playground games. So, let’s get started and unleash your inner artist and game designer!
Choose a suitable area and surface for the hopscotch grid. Use chalk or masking tape to mark out the hopscotch grid, including single squares and double squares.
Number the squares from 1 to 8, alternating the numbers in single and double squares.
Start the game by tossing a marker into square 1 and hop through the grid, skipping the marker’s square. Continue hopping through the grid, turning around at the end, and hopping back, picking up the marker on the way.
Complete the course without stepping on the lines or losing balance to win!
Mark the four square boundaries using tape or paint. Divide the square into four equal sections, labelling them A, B, C, and D.
Players stand in one of the sections and hit the ball to other players’ squares. If the ball bounces more than once in a player’s square, they are out.
The last player remaining moves up to the highest square, and a new player enters the game.
During a community event, children joyfully engaged in a game of four square, fostering teamwork and laughter, showcasing the impact of DIY playground markings on social interaction.
Choose a suitable area for the bean bag toss game, ensuring there’s enough space for players to stand and throw. Mark the throwing line with tape or chalk, ensuring it’s at an appropriate distance for the age group playing.
Set up targets such as hula hoops or wooden cutouts, spacing them out evenly across the playing area. Provide bean bags for players to toss towards the targets, aiming for accuracy and points.
Pro-tip: Add a fun twist by assigning different point values to each target for an added challenge and excitement.
Measure and mark the throwing line, ensuring it aligns with safety regulations and the players’ abilities.
Select the appropriate target, such as a hoop, bucket, or drawn shape, and position it at the designated distance from the throwing line.
Establish a scoring system, whether it be based on accuracy, distance, or technique, and clearly communicate the rules to participants.
Encourage fair play and sportsmanship among players, promoting friendly competition and skill improvement.
Ensure the area surrounding the target toss game is clear of obstructions to prevent accidents and ensure a safe play environment.
Plan the maze design based on available space and age-appropriate complexity. Use stencils for precise outlines and paint for vibrant colours. Ensure clear start and finish points with well-defined pathways. Add occasional dead ends or loops for challenge and fun.
Regularly maintain and refresh the maze markings for safety and longevity.
Plan the layout of the obstacle course, keeping in mind the available space and safety considerations. Choose obstacles such as hurdles, tunnels, balance beams, and climbing structures to challenge and engage children. Ensure the course offers a variety of physical activities, promoting agility, coordination, and problem-solving skills. Use bright and visually appealing colours to make the course inviting and exciting for kids. Regularly inspect and maintain the obstacle course to ensure safety and longevity.
Draw a noughts and crosses grid on the ground using chalk or paint.
Decide on playing pieces such as bean bags or frisbees for X and O.
Explain the rules to the players: three X’s or O’s in a row, column, or diagonal wins!
Decide on the area for the alphabet and number games, making sure it’s suitable for the intended age group. Select engaging and educational designs that include letters, numbers, and simple words. Use vibrant and contrasting colours to make the markings visually appealing and easy to read. Maintain proper spacing between the letters and numbers to prevent overcrowding and confusion. Ensure that the games are inclusive and accessible to all children, considering any special needs or disabilities.
Choose a musical theme for the playground markings, such as musical notes, instruments, or a music-themed maze. Consider the age of the children who will be using the playground to ensure the musical markings are age-appropriate and engaging.
Select vibrant and eye-catching colours for the musical markings to enhance visual appeal and attract children’s attention.
Incorporate interactive elements into the musical markings, such as games or challenges related to music and rhythm.
Musical playground markings have become increasingly popular as they offer a fun and engaging way for children to explore music and rhythm while staying active outdoors.
1. How can playground markings benefit our school community? Playground markings offer valuable opportunities for engaging activities and cross-curricular links, allowing children to learn while having fun. They can also promote physical exercise, which is important for both physical and mental health. Additionally, bespoke designs can incorporate school values and logos, making the playground a reflection of the school community. 2. Can bespoke markings be applied on any surface? Yes, bespoke markings can be applied on various surfaces, including black tarmac and awkward areas. The material used is weather-resistant, ensuring long-lasting and vibrant markings. 3. What are some popular playground activities offered by Fun & Active Playgrounds? Some popular playground activities include classic board game markings (such as snakes and ladders), interactive alphabet and number recognition, target rings, and traditional playground painting. Additionally, the Build Your Own Trail Playground Markings offer a variety of fitness skills and activities for children. 4. How does Fun & Active Playgrounds involve the school in the design process? Fun & Active Playgrounds works closely with the school to fully understand their specific requirements and vision. They offer a transparent experience by sharing 3D designs and practical phrases for approval, ensuring the final product is exactly as desired. Additionally, they have several case studies of successful bespoke projects for inspiration. 5. What are the benefits of incorporating playground markings into the school day? Playground markings can inspire a generation of active learners by offering engaging and educational activities during break times. They also provide a healthy mind and body by promoting physical exercise. Furthermore, they can act as an extension of the classroom and encourage cross-curricular learning. 6. Can playground markings be customized to fit our school ethos and values? Yes, Fun & Active Playgrounds can create bespoke markings that incorporate the school motto, key messages, and logo. They have experience working with school communities to design unique and personalized markings that reflect their values and ethos. Enquire today to see how they can help enhance your school playground.
We Aim To Reply To All Enquiries With-in 24-Hours